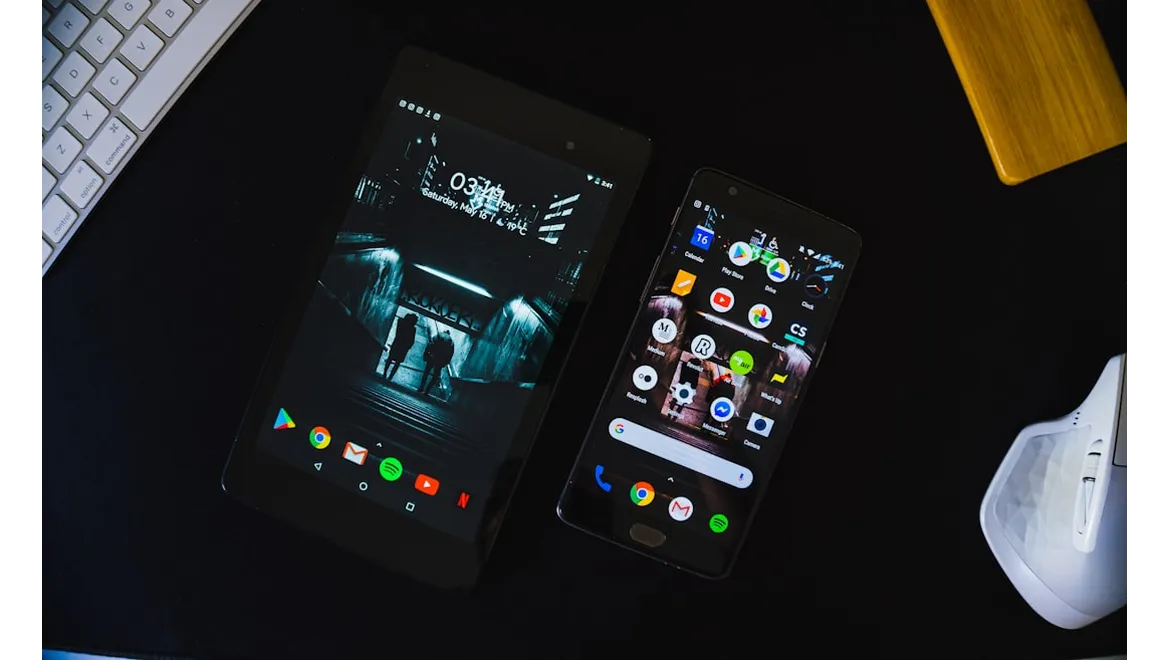
As someone who’s always been passionate about photography but often found the gear to be too cumbersome, discovering the potential of my smartphone camera was a revelation. Smartphones have become incredibly powerful tools for capturing stunning images, and with the right techniques, you can elevate your mobile photography to a professional level. Here’s how I’ve mastered mobile photography, and how you can too.
Understanding Your Smartphone Camera
The first step in my journey was getting to know my smartphone camera inside out. Modern smartphones come equipped with a plethora of features that often go unnoticed. I spent some time exploring the settings, understanding the different modes (such as portrait, night, and panorama), and figuring out how to manually adjust settings like ISO, shutter speed, and white balance.
Pro Tip: Take some time to read your phone’s manual or watch tutorial videos specific to your model. Knowing what your camera can do is the foundation of great mobile photography.
Mastering Composition
Composition is the heart of any great photograph. I started by adhering to the rule of thirds, a technique that involves dividing the frame into nine equal parts and placing the subject along these lines or at their intersections. Most smartphones have a grid overlay option that can be enabled in the camera settings to aid with this.
However, rules are meant to be broken. I experimented with different angles and perspectives, trying to see the world in unconventional ways. Sometimes, shooting from a lower angle or a bird’s-eye view can make a mundane scene appear extraordinary.
Pro Tip: Don’t just stick to eye-level shots. Experiment with different perspectives and angles to add depth and interest to your photos.
Lighting is Key
Lighting can make or break a photograph. Natural light is always my go-to, especially during the golden hour – the period shortly after sunrise or before sunset when the light is soft and warm. If shooting indoors, I always try to position myself so that the light source is behind me, illuminating the subject.
In low light conditions, rather than relying on the harsh flash, I use the night mode or adjust the exposure settings manually. Another trick is to use a small portable LED light, which can be a game-changer for night photography.
Pro Tip: Pay attention to the direction and quality of light. Use natural light to your advantage and avoid using the built-in flash whenever possible.
Editing on the Go
A significant part of mobile photography is the post-processing. I use apps like Adobe Lightroom and Snapseed for editing. These apps offer a wide range of tools that can enhance your photos dramatically. I always start by adjusting the basic parameters like brightness, contrast, and saturation. Then, I fine-tune the details, sharpen the image, and sometimes play with filters to achieve the desired look.
One thing I’ve learnt is to be subtle with edits. Over-editing can make photos look unnatural. The goal is to enhance the image while maintaining its authenticity.
Pro Tip: Invest time in learning how to use a good photo-editing app. Subtle adjustments can elevate your photos from good to great.
Using Accessories
While smartphones are powerful on their own, a few accessories can take your mobile photography to the next level. I invested in a small tripod for stability, which is particularly useful for low-light and long-exposure shots. An external lens kit, including macro and wide-angle lenses, can also add versatility to your shots.
Another handy tool is a Bluetooth remote shutter, which allows you to take photos without touching your phone, reducing the risk of blurred images.
Pro Tip: Consider investing in a few key accessories like a tripod and external lenses to expand the capabilities of your smartphone camera.
Practising Consistently
Like any other skill, mastering mobile photography requires consistent practice. I made it a habit to take photos every day, experimenting with different settings, compositions, and editing techniques. Joining online photography communities and participating in challenges also helped me gain feedback and improve my skills.
Pro Tip: Practice regularly and seek feedback from fellow photographers. Participation in photography communities can provide valuable insights and inspiration.
In my journey to mastering mobile photography, I’ve discovered that it’s not just about the camera but how you use it. Understanding your smartphone’s features, mastering composition, leveraging light, editing skillfully, using accessories, and practising consistently can transform your photos. Whether you’re capturing everyday moments or breathtaking landscapes, these techniques will help you create eye-catching images that you’ll be proud to share. Happy shooting!


